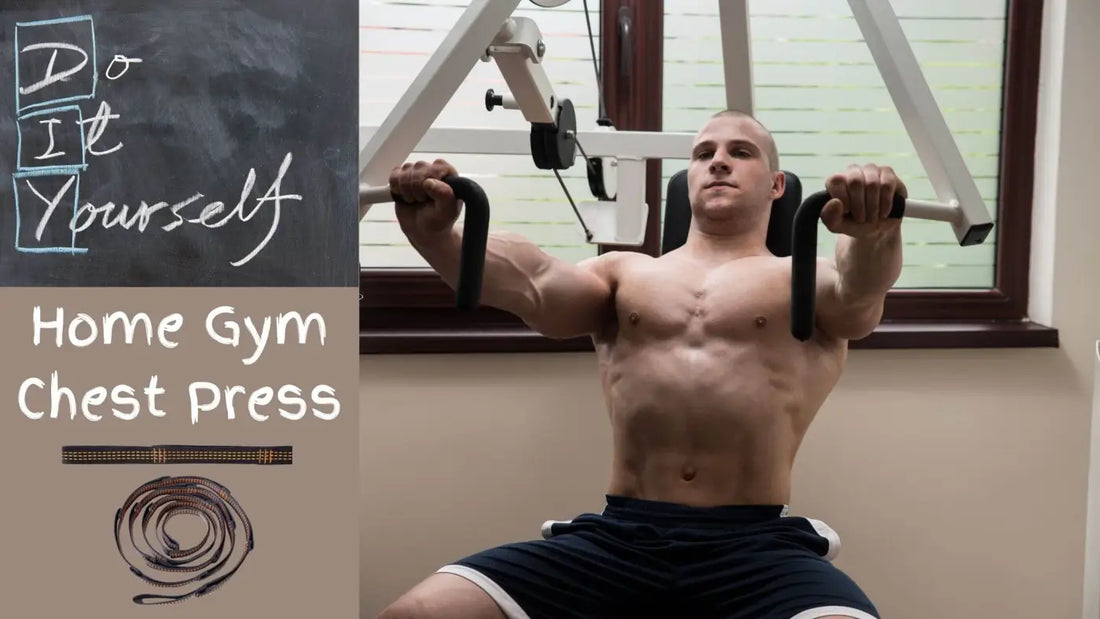
DIY Home Gym Chest Press
Share
Here is how to create a DIY chest press for your home gym
In this article you will learn all about the DIY home gym chest press, including:
- Why you may need a chest press for your home gym
- How to create a chest press using your own equipment for a small investment
- The steps to create your own at home chest press
Begin with the basics
To start a home gym, all you need is the basic gym equipment. This list typically includes a power rack, bench, barbell, and weights for strength training. It takes even less exercise equipment for cardio. Most can get away with a jump rope and a moderately heavy kettlebell to get the job done. Having these tools on hand makes for an effective yet cheap home gym. We can build a lot of muscle with just the fundamental pieces of exercise equipment made for weight training.
Going Beyond the Basics
At some point every at home lifter will find a desire to expand their garage gym. They will either spend more money or call it quits on the whole home gym thing. Ultimately returning to a commercial gym where they reluctantly sign up for the standard gym membership.
Expanding a home beyond the basics can become very expensive. There are endless amounts of fitness equipment options to choose from. Trying to buy them all can leave you broke before you become buff.
On the more practical side you might purchase a resistance band set, heavier weights, or an adjustable dumbbell set. All helpful and approved equipment by most garage gym trainees.
You can go somewhat practical with the purchase of a cable pulley to perform tricep press downs and lat pull-downs. Moving past free weight movements and into exercises that isolate the muscle.
Or you can go impractical and purchase workout equipment for a very specific purpose. Standing calf raise and shoulder press machines would fit into this category.
We now have more options
Thankfully, there has been a trend in DIY fitness equipment that can make expanding your gym a more affordable hobby. You can even create a DIY bench, squat rack, barbell, and yes, weight plates.
Having the basics can allow you to bench press, which is the bread and butter of chest development. But beyond changing the angle and grip position of the exercise is about all you can do to add variety to your chest exercise.
Of course, you can use your body for resistance and add a pushup element to your routine. Again, you can change the angle and arm width to add more variety to this exercise. Also, you can add a weight vest or backpack to further increase the resistance.
The pushup and its variations are one of the most underrated exercises in the commercial gym, as well as the home gym.
In the gym we use the bench press for power and the pushup for pumps, but what if you want both? Most will head on over to the chest press machine as an in-between movement to push a lot of weight and press for the pump.
Chest press machines can be expensive
Purchasing a chest press machine isn’t realistic for most home gym enthusiasts as the cost ranges from 500 to 1000 for a basic piece of equipment that performs a pressing motion for the pecs. So what do we do if we want to expand the options for a strong chest workout?
Not to fear! We have a way that you can use your basic power rack, workout bench, barbell, and weight plates creating your own DIY home gym chest press. The total investment for this chest exercise will be for less $50.00. Giving you multiple options to build a powerful chest without breaking the bank.
Create your own DIY home gym chest press
In order to create this unique exercise, you will need:
- Fitness Strength: Hammock Straps with Carabiners
- Several sets of light exercise weight bands
- 2-4 thread eye bolts
That’s it!
Versatility of the DIY Home Gym Chest Press
With the bench in the upright position, the press will target the middle of the chest at the beginning and the upper chest when the arms are straight.
As the bench moves from upright to inclined the muscle fiber recruitment will lower to the bottom and midpoints of the chest.
An alternative through these positions is to use an underhand grip which may recruit more muscle fibers, helping to further tax the chest muscles.
You will not work your chest when you are at or near a flat bench. However, this position works for a tricep extensions. If you have a flat or DIY weight bench, you can still perform the chest press exercise in an upright position. You will get slightly lest pectoral activation but this is made up the abdominal work required to stabilize the body.
Setting Up Your DIY Home Gym Chest Press
Step 1: To begin you will need to attach your thread eye bolts to the top crossbar of your power rack.
Step 2: Attach your Fitness Strength Hammock Straps to the eye bolt with the carabiners.
Step 3: Determine the appropriate height for your barbell by setting up your bench to the angle you want.
Step 4: Slide your barbell into the appropriate spot on the fitness strength hammock straps.
Step 5: Either attach your bands directly to your rear uprights or use the eye bolts where possible. You can also use the studs in your wall to secure the eye bolts but be sure you have them installed properly.
The bands should be at the beginning of the stretched position. This way you can push the barbell out slightly to enter the seat.
Step 6: Place enough weight behind the legs of your seat to ensure the weight bench does not move when you press forward during the exercise.
Step 7: Push the weight away slightly to allow yourself to settle into the bench and then press the weight!
Modify the DIY chest press if needed
You may need to modify your chest press setup since we all have differing heights, weights, and limb lengths. Also, your power rack may not have the same height and width as the next person. For these reasons you may need to modify your setup so that the DIY chest press is perfect for you.
This article provides the foundation for what you need to make this chest exercise possible. Now it is up to your own creative genius in how to perfect this chest workout in your home gym.


